April 2024 | Rebuild from A to Z: cleaning
08/04/2024 - 16:04
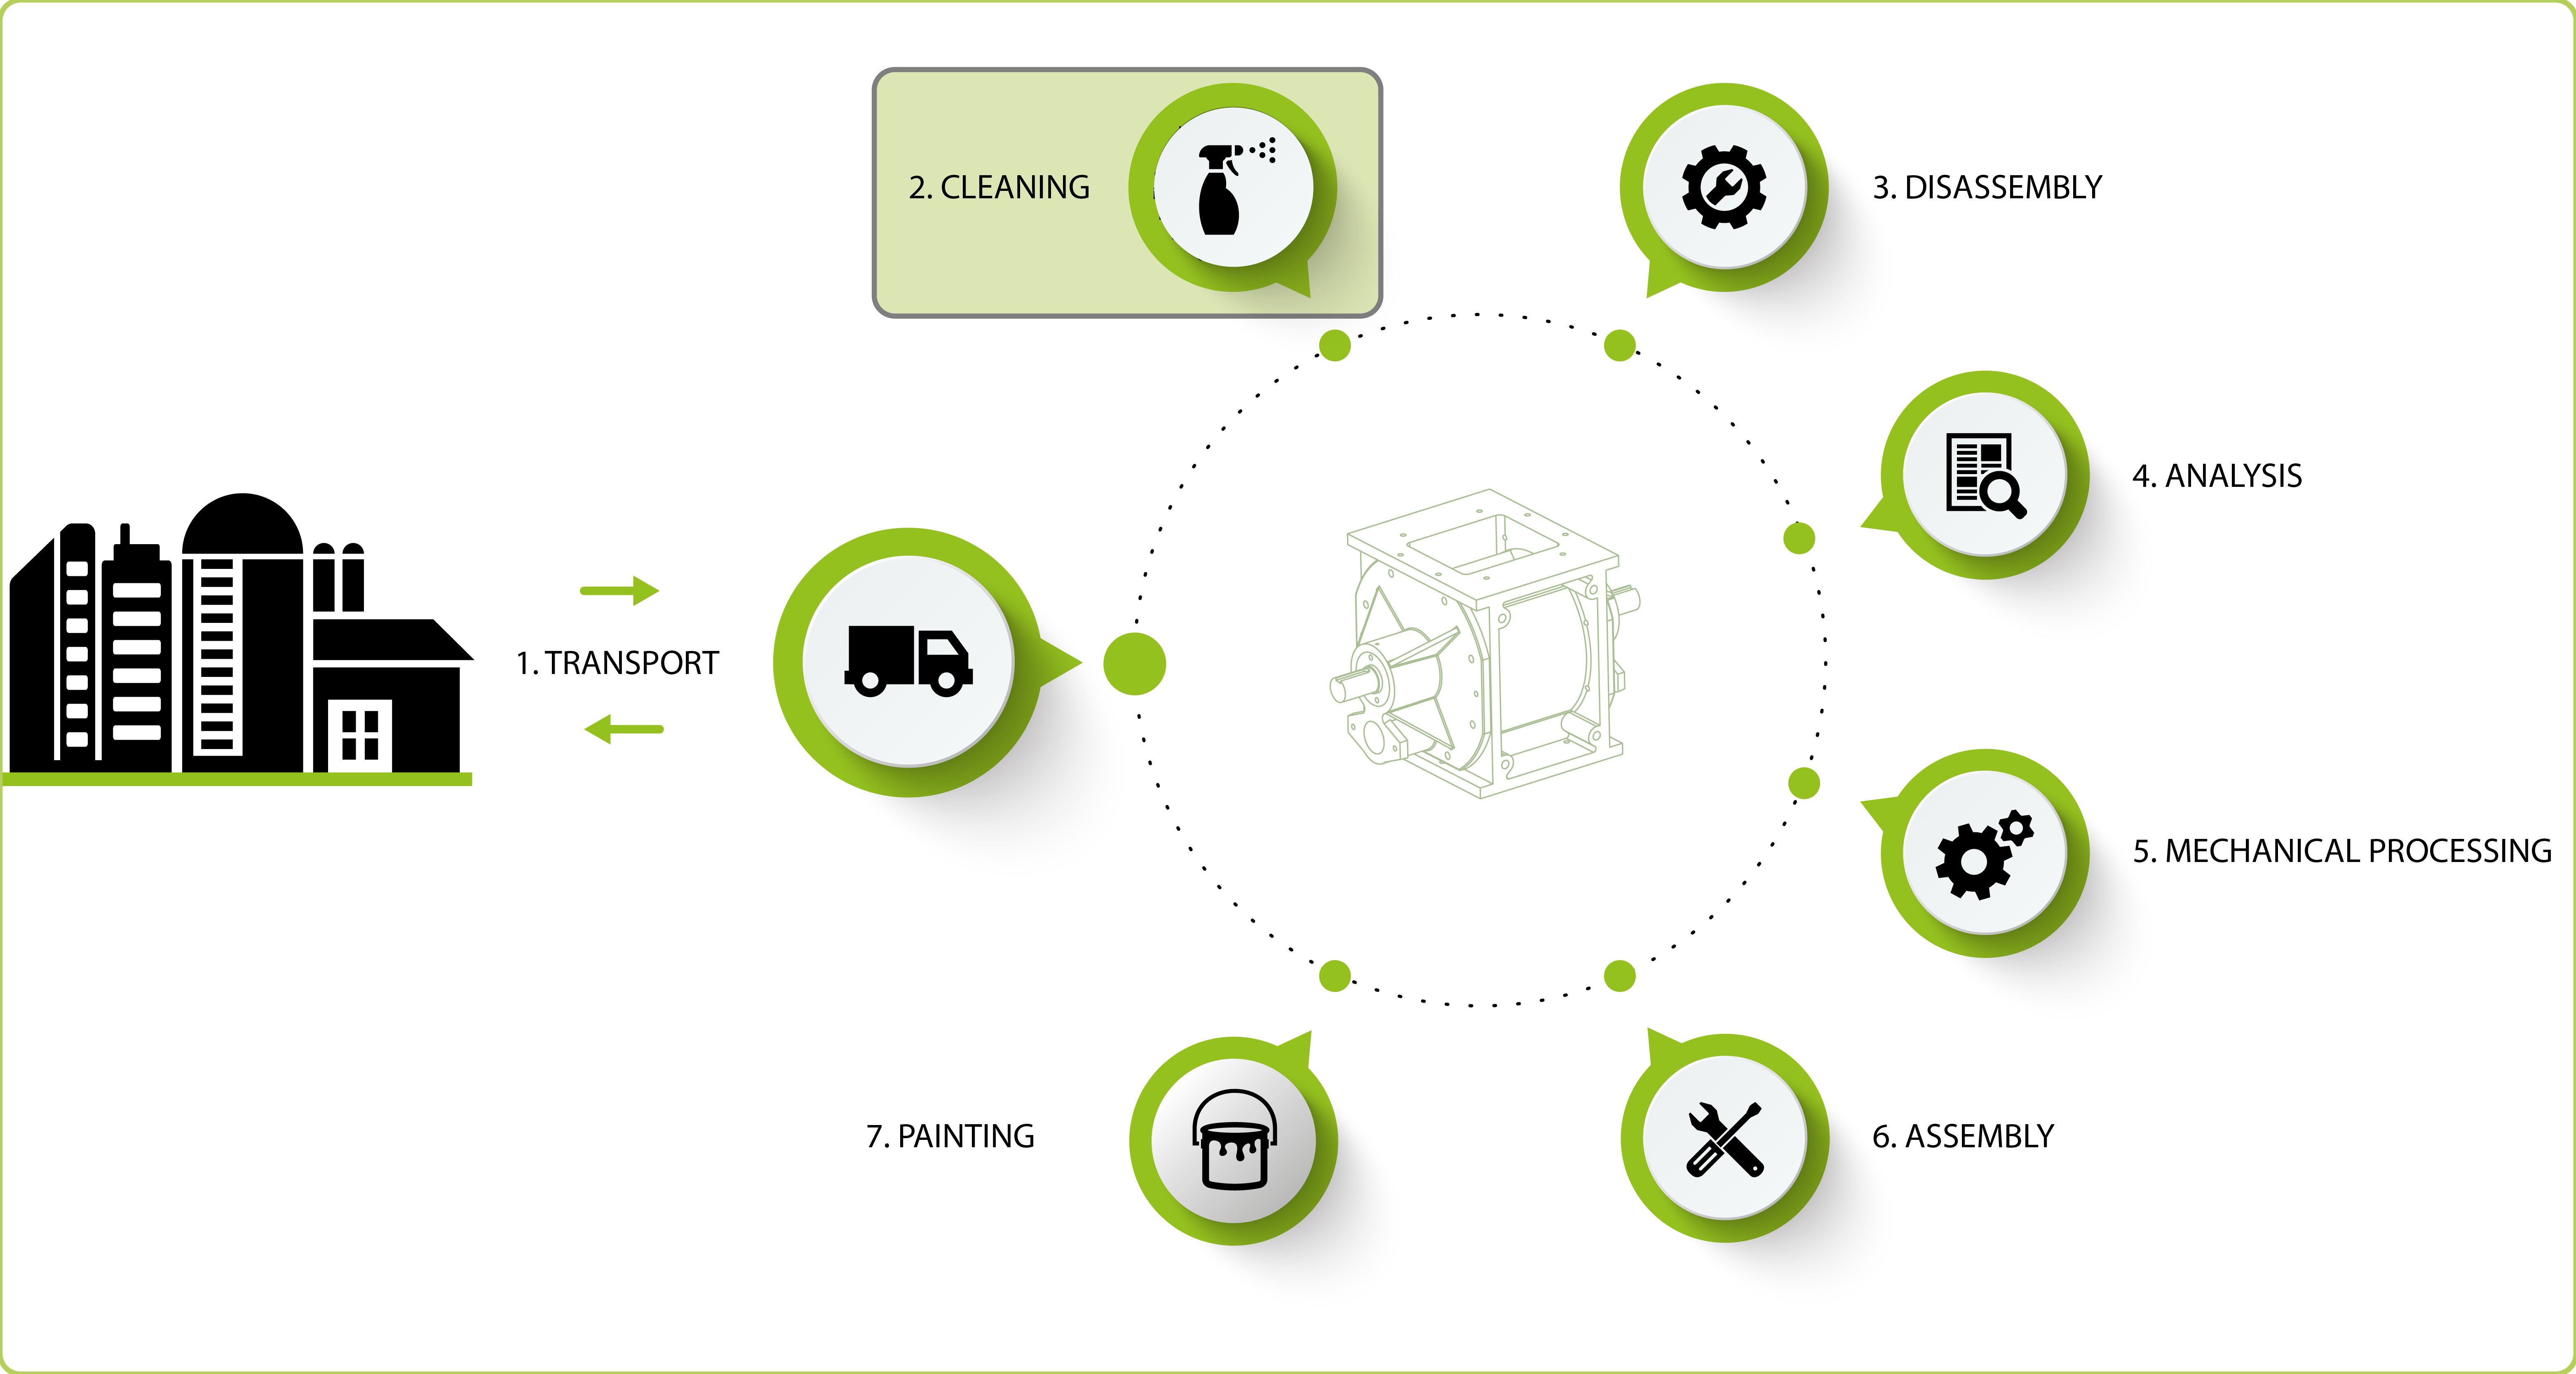
Revision from A to Z: cleaning
A used valve is dirty due to rust and grease, mixed with the raw material being transported through the valve. We're dealing with stubborn dirt.
The revision process begins with a thorough cleaning of the valve and all its components. Thorough cleaning is crucial for the proper execution of each subsequent phase and is therefore repeated as necessary.
Cleaning before disassembly
Every valve is externally cleaned with high-pressure water jets before disassembly (with or without soap in case of oil or grease traces). This cleaning method is entirely harmless to the valve.
Cleaning after disassembly
After disassembly, each component undergoes a thorough cleaning down to the raw material. Depending on the need, this may involve using high-pressure water jets, a steamer up to 200°C, or bead/sandblasting if water jets are not sufficient.
Cleaning after welding
Due to welding and associated temperature increases, paint on the valve components may peel off. This flaking paint must be removed before applying a new paint layer. Bead blasting provides a good solution for this. Glass beads are used as the blasting medium in bead blasting. Bead blasting creates a fine finish with less material removal and surface roughness compared to, for example, sandblasting.
Cleaning in preparation for surface treatment
For certain surface treatments, such as anti-rust, anti-corrosion, or anti-wear coatings, it is necessary to remove all existing paint. This can again be done through bead blasting or by using a chemical acid bath. Acid dissolves dirt, oxides, and other impurities, cleaning the surface effectively. An acid bath is also used to prepare the surface of a material for applying coatings like paint, varnish, or other protective layers. The acid bath roughens the surface, improving the adhesion of the coating.

